
 Image 1 of 1
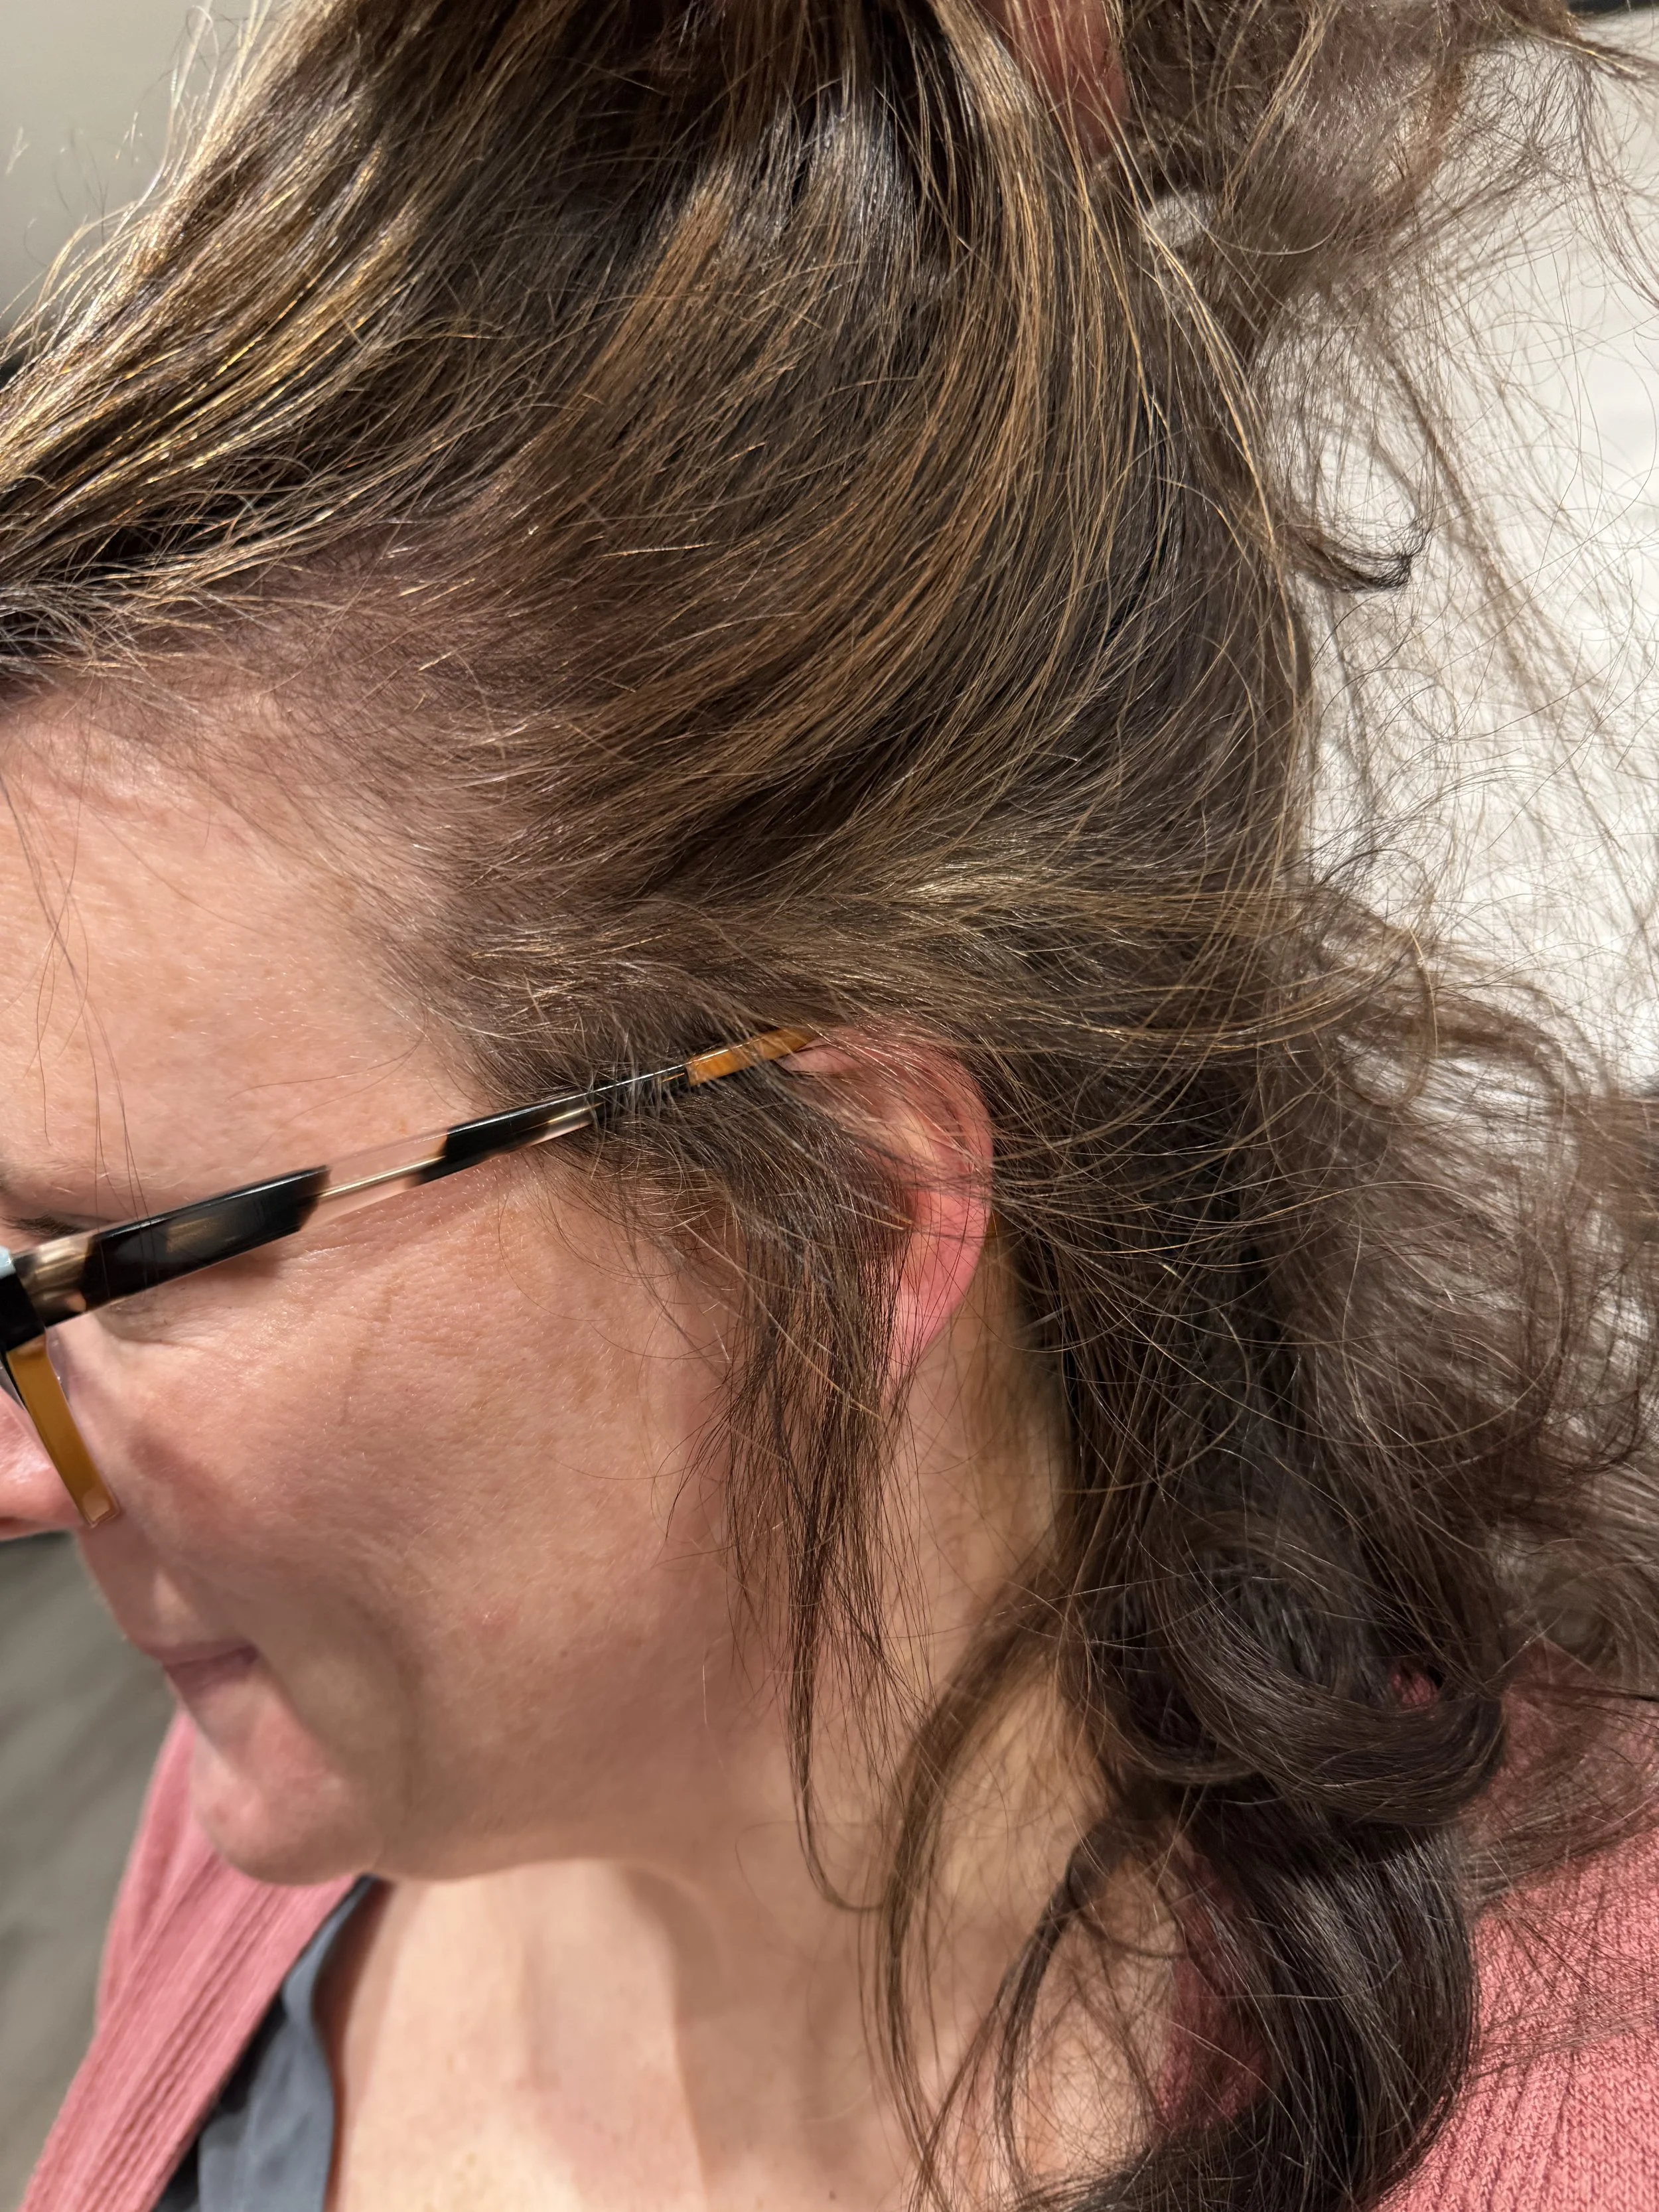
Mini Grey blending sessions- price TBD
Not fully gray but ready to embrace what gray you do have — here’s the plan to ease into a seamless, confident gray blend without shock or choppy lines. We’ll assess your current color, choose the right grout (that is, the blending strategy), and map a step-by-step approach so your transition looks intentional, lived-in, and modern.
Assess your starting point
How much gray do you have? (scattered silver strands, a salt-and-pepper mix, or heavier regrowth at the part/temple)
Your natural base color and undertones (cool ash, warm gold, red tones)
Hair porosity and texture (fine, coarse, curly, chemically treated)
Lifestyle and maintenance willingness (how often you’ll visit the salon or can use at-home touchups)
Choose the right “grout” — blending strategies explained
Strategic lowlights: Add soft, darker strands around the part, temples, and crown to anchor color and create depth. Best for salt-and-pepper blends that need contrast.
Soft babylights / micro-foils: Feather thin, face-framing highlights that diffuse regrowth and blend gray gently without harsh lines. Great for fine hair or subtle transition.
Root smudge / root blur: Colorist applies a slightly darker or neutral shade at the root line and blends into the lengths for a seamless grow-out. Low maintenance and ideal if you want a softer demarcation.
All-over soft toner or gloss: Deposits color to neutralize brassiness and enhance the silver sheen without lifting or damaging hair. Use between lightening sessions to keep the gray luminous.
Grow-out with regular refresh: Leave most gray, selectively color the mid-lengths and ends to even tone while allowing roots to grow. Works well for clients wanting an authentic gray without heavy processing.
Tailor by hair type and goal
Fine hair: Use babylights and glossing; avoid heavy blocky lowlights that weigh hair down.
Thick or coarse hair: Stronger lowlights and root smudge create dimension and prevent the gray from reading flat.
Curly hair: Place blending highlights where curls open (around the face and crown) to preserve natural texture and prevent banding.
Chemically processed or fragile hair: Prioritize glosses, demi-permanent color, and minimal lightening. Restore protein and moisture first.
Timeline and maintenance plan
Phase 1 (Initial session): Consultation, select blending method, perform any necessary bond-building or conditioning treatments, place lowlights/babylights or root smudge, finish with a gloss.
Phase 2 (4–8 weeks): Assess grow-out, refresh babylights/lowlights, reapply gloss. Train the eye to accept more gray gradually.
Phase 3 (Every 8–12 weeks): Maintain with root smudge or soft touchups and regular glosses. Trim to remove over-processed ends and keep shape.
What to expect emotionally and visually
Transitioning isn’t instant. Expect a “salt-and-pepper” phase where gray and pigment sit side-by-side; properly placed grout makes that phase stylish, not awkward.
Embracing gray can feel freeing — your color becomes a tailored, modern look rather than a cover-up.
Ready to build your seamless gray? Start with a frank assessment of your regrowth, choose